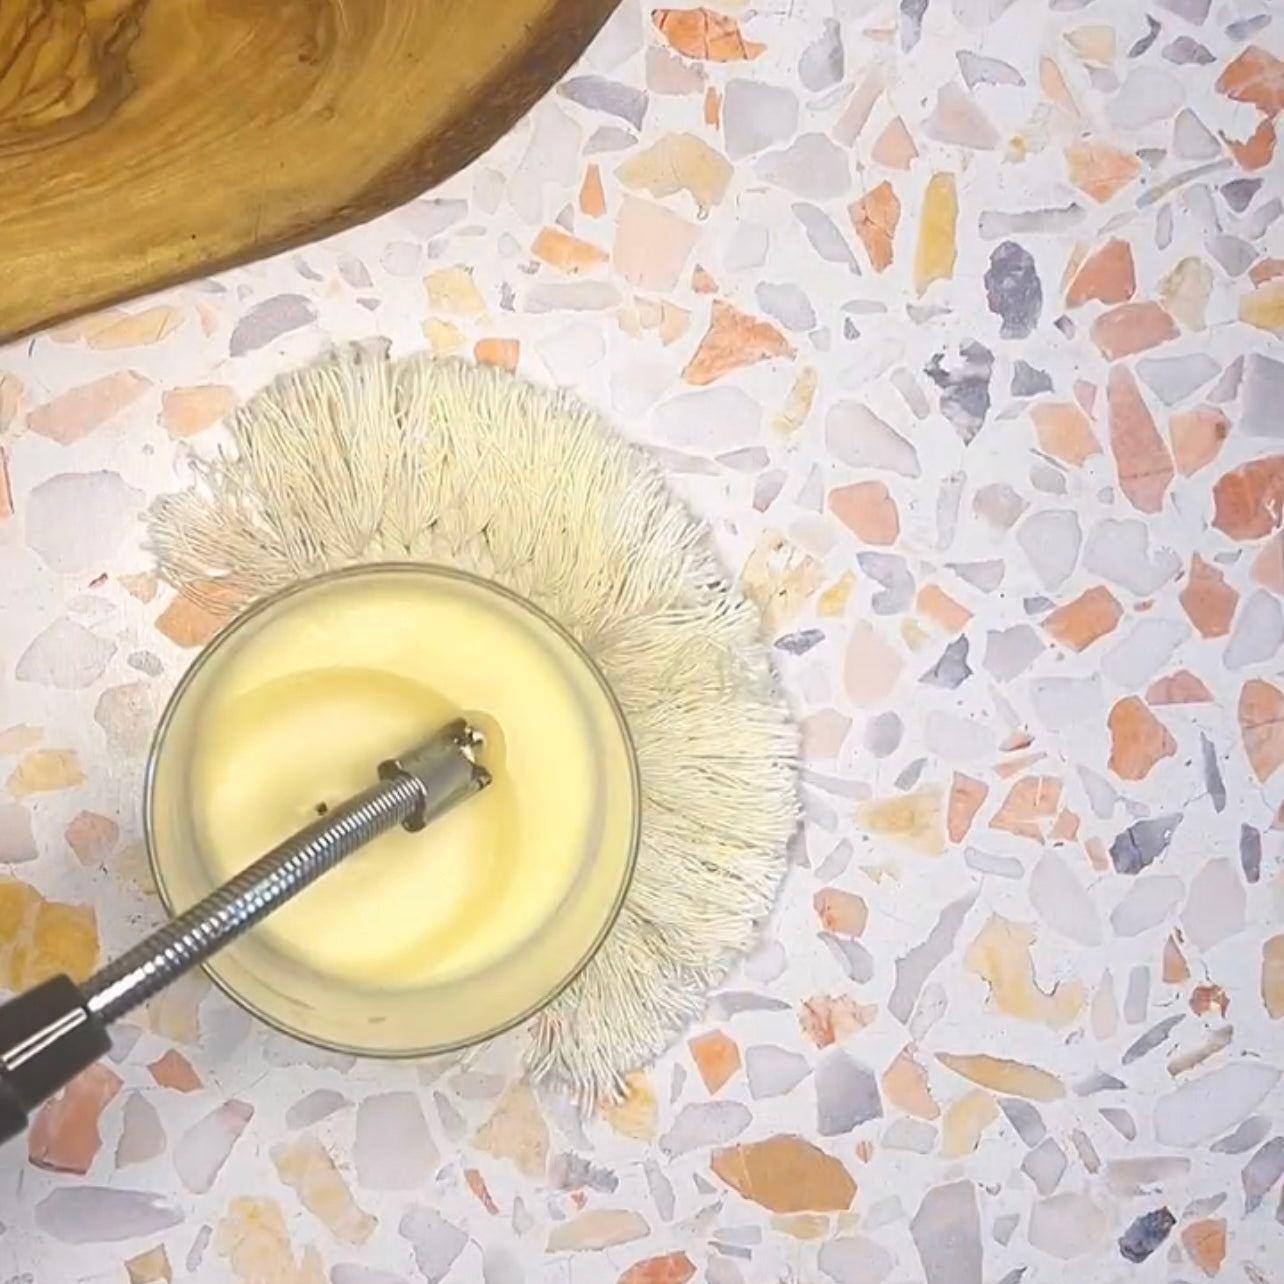
Candles are a beautiful way to add a warm and cozy ambience to any space. They can transform a room with their soft glow and aromatic scents. Candle tunnelling can be a frustrating problem when you're just trying to enjoy the expeirence. So, what is tunnelling? It's when your candle burns down the middle, leaving a ring of hard wax on the outer edges. Not only does it waste a good amount of your beloved candle, but it also reduces the candle's lifespan. But don't worry! Here's a detailed guide on how to fix a tunnelling candle and get the most out of it.

Light the Candle
The first step to fixing a tunnelling candle is lighting it. Seems obvious, right? However, if the wick is buried within the wax and can't be lit, you'll need to dig a little. Use a spoon or any similar tool to gently scoop out the wax around the wick. Be careful not to damage or shorten the wick while doing so. Once you've cleared enough wax, light the wick. This simple process kickstarts the fixing process.


Tent the Candle in Aluminum Foil
Next, you'll need to create a mini oven for your candle. Sounds bizarre, but it works wonders! Take a piece of aluminum foil and tent your candle in it. Ensure that you leave an opening at the top for the flame to breathe and smoke to escape. This method is highly effective as it helps in melting the wax on the outer edges which usually remains untouched in a tunnelled candle. The foil reflects the heat into the candle, encouraging the hard wax to melt.
 Wait an Hour
Patience is key in this process. After tenting your candle, let it burn for at least an hour. This will give enough time for the first layer of wax to liquefy. Remember, the time may vary based on the depth of the tunnelling. The deeper the tunnel, the longer it might take. Keep an eye on your candle during this process. Once you see the wax on the edges starting to melt, you know the process is working.

Let it Solidify
The final step in fixing a tunnelling candle is letting it solidify. Once the wax has melted evenly across the top, blow out the flame and let the liquid wax harden. This might take a few hours. Once solidified, your candle is like new again! Now you can light it normally and it will continue to burn evenly, giving you more hours of its delightful glow and fragrance.
So, the next time you see your favourite candle tunnelling, don't fret. Just follow these simple steps to give it a new lease of life. Remember, taking care of your candles ensures they last longer and continue to add beauty and warmth to your space.


Leave a comment